DIY Crafting A Cover For Your Portable Bathtub: A Creative Guide
Do you ever wish your portable bathtub had a bit more pizzazz or perhaps some added privacy? Well, you’re in luck! Crafting a DIY cover
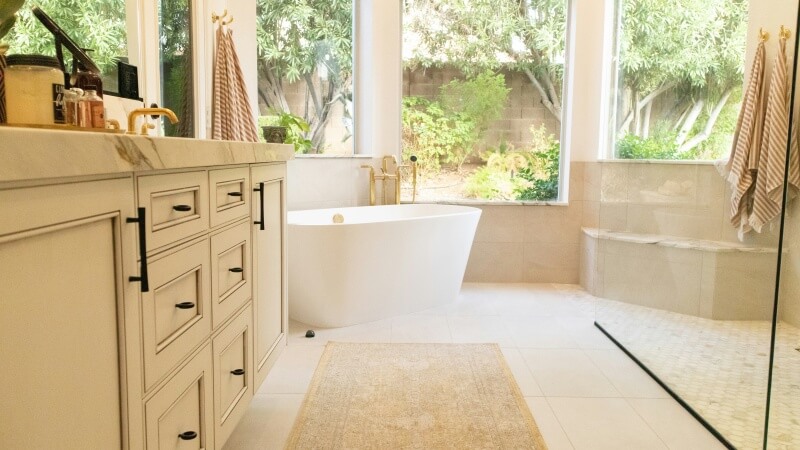
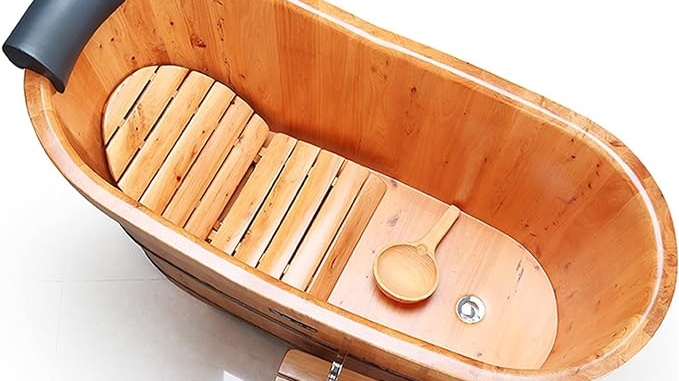
Imagine the luxury of stepping into a portable bathtub crafted from beautiful wood, tailored just for you. The warmth of the timber, combined with the satisfaction of DIY, can turn an ordinary bath into an extraordinary experience.
In this blog, we’ll guide you through the process of creating a custom wooden portable bathtub, making your dream a relaxing reality.
Design and planning are the blueprints of your wooden portable bathtub project.
This initial phase is crucial for ensuring the final product is both aesthetically pleasing and functional. Careful planning will lead to a more efficient building process and a better-quality bathtub.
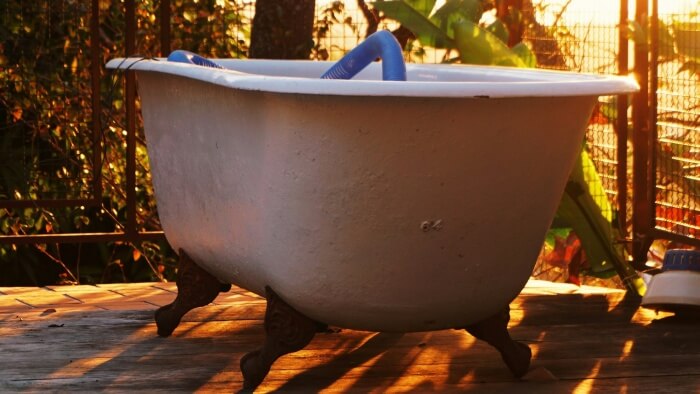
Before you pick up any tools, decide on the size and shape of your portable bathtub. This choice will dictate the overall design and how well the tub fits into your intended space.
Think about who will be using the tub – larger sizes might be needed for adults, while smaller ones might suffice for children.
The shape is also important; whether oval, rectangular, or a custom shape, it should align with your aesthetic preferences and comfort requirements. Remember, the size and shape will significantly impact your bathing experience.
Choosing the appropriate type of wood is critical for the longevity and appearance of your portable bathtub. Woods like teak, oak, or cedar are excellent for their resistance to moisture and decay.
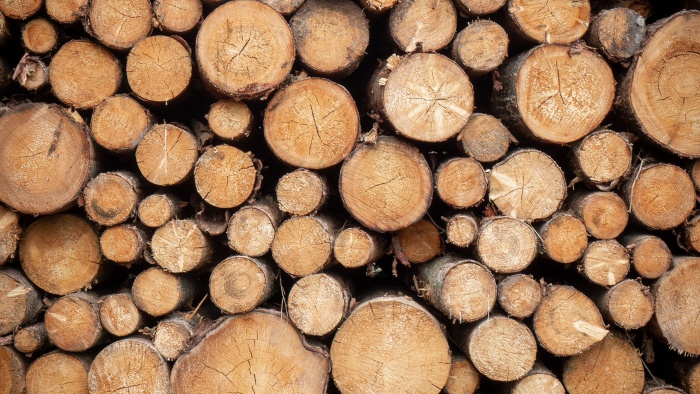
Teak, for instance, is not only durable but also has natural oils that make it water-resistant.
Cedar, on the other hand, is lightweight and has a distinct aroma that can enhance the bathing experience. Consider the wood’s grain, color, and overall look to ensure it aligns with your vision for the bathtub.
Proper preparation of tools and materials will streamline the construction of your portable bathtub.
Make a checklist of all the tools you’ll need – a reliable saw for cutting, a drill for holes, sandpaper for smoothing edges, and a good quality screwdriver.
Alongside tools, gather all the materials such as wooden planks, waterproof sealant, screws, and metal brackets.
Ensure the quality of these materials is top-notch to guarantee the durability and safety of your bathtub.
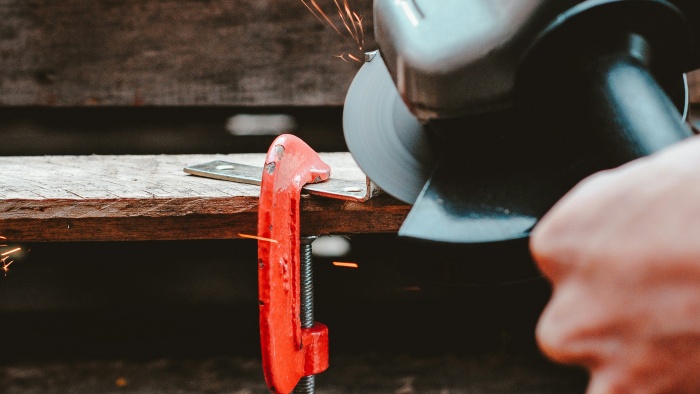
The woodworking and cutting stage is where your portable bathtub starts to take shape.
Precision and attention to detail are key during this phase to ensure that each piece fits perfectly and contributes to the overall stability of the tub.
Carefully measure and cut the wood according to your design plan. This step requires precision, as inaccuracies can lead to gaps and potential leaks in the final product.
If you’re creating curved edges or intricate designs, take your time to ensure these cuts are exact.
Remember, the more accurate your cuts, the better the fit and finish of your portable bathtub will be. Well-cut pieces will align seamlessly, making the assembly process smoother and more efficient.
After cutting the wood to size, sand each piece thoroughly. This process is not just about aesthetics; it’s about safety and comfort. Sanding removes any rough edges and splinters, ensuring the surfaces are smooth to the touch.
Pay special attention to the areas where your body will contact the most, such as the edges of the tub. A smooth finish will not only look better but will also prevent any discomfort or injury while using the portable bathtub.
The assembly of your portable bathtub is a critical stage where the cut pieces are pieced together to form the tub’s frame. Start by laying out the pieces to get a visual of how they will fit together.
Securely fasten each piece using screws and metal brackets, ensuring each joint is tight and well-aligned.
The frame should be robust enough to withstand the weight of water and the user. A strong and well-assembled frame is the foundation of your bathtub’s durability and usability.
Turning your assembled wooden structure into a functioning portable bathtub involves waterproofing and applying finishing touches.
This phase is crucial to ensure that your bathtub is not only visually appealing but also practical for regular use.
The application of a waterproof sealant is essential to protect wood from water damage. Carefully apply the sealant to every joint, seam, and surface of your portable bathtub.
It’s important to choose a high-quality sealant specifically designed for use in wet environments.
A thorough and even application will create an effective barrier against moisture, preventing rot and ensuring the longevity of your bathtub.
After sealing, apply a protective coating to the wood. This could be a varnish, oil, or stain, depending on the type of wood and the desired aesthetic.
This coating not only adds an extra layer of protection against water but also brings out the natural beauty of the wood.
It can enhance the color and grain, making your portable bathtub a stunning centerpiece in your bathroom.
To make your bathtub truly portable, attach sturdy wheels or casters to its base. These should be capable of supporting the full weight of the bathtub, water, and bather.
Consider wheels with locks to ensure the bathtub stays in place when in use. Testing mobility is crucial; you want to ensure that the tub can be moved easily and securely, offering both practicality and convenience.
Before you can enjoy your new wooden portable bathtub, it’s important to test it thoroughly and make any necessary adjustments.
This final step is crucial to ensure your bathtub is not only beautiful but also fully functional and safe for use.
Fill your portable bathtub with water to test for any leaks. Check every joint, seam, and connection for signs of water seepage.
If you find any leaks, apply additional sealant and retest. It’s crucial to ensure that the bathtub holds water without leaking, as even a small drip can lead to water damage and affect the tub’s longevity.
Based on your water test, you might need to make some final adjustments. This could include tightening screws, reapplying sealant in areas, or adjusting the legs for stability.
Ensure that the bathtub is comfortable to use and safe. Smooth out any rough areas that you may have missed earlier, and double-check that the tub is stable and secure.
These final touches will make your portable bathtub not just a work of art but a comfortable and safe haven for relaxation.
Creating a custom wooden portable bathtub is a rewarding DIY project that combines craftsmanship with personal comfort.
By following these detailed steps, you can build a unique and luxurious bathing experience tailored to your preferences.
Enjoy the pride and satisfaction that comes from relaxing in a bathtub crafted with your own hands, knowing that every detail has been thoughtfully considered. Welcome to a new level of personalized bathing luxury!
How do I maintain the wood of my portable bathtub to ensure its longevity?
To maintain your wooden portable bathtub, regularly clean it with mild soap and water, and avoid harsh chemicals. Periodically reapply a coat of waterproof sealant and protective finish to keep the wood from drying out or cracking. Also, if possible, avoid leaving water in the tub for extended periods, as prolonged exposure can affect the wood’s integrity.
Can I add jets or a bubble system to my wooden portable bathtub?
While adding jets or a bubble system to a wooden portable bathtub is possible, it requires additional plumbing expertise and careful waterproofing. You need to ensure that the system’s components are compatible with the wooden structure and that all electrical parts are safely installed. Consulting with a professional plumber or electrician is recommended for such modifications.
Is it safe to use bath salts and oils in a wooden portable bathtub?
Yes, you can use bath salts and oils in your wooden portable bathtub. However, it’s important to choose products that are wood-friendly and won’t damage the sealant or protective coating. After using such products, rinse the tub well and occasionally reapply a protective coat to safeguard the wood against any potential damage from these substances.
What should I do if the wood starts to show signs of wear or damage?
If your wooden portable bathtub shows signs of wear or damage, such as small cracks or discoloration, address these issues promptly. For minor cracks, use a wood filler that matches the tub’s color, and then reapply sealant and protective coating. If the damage is significant, consult with a woodworking expert to assess and repair the tub properly.
How can I ensure the bathtub remains stable and doesn’t rock or move during use?
To ensure stability, check that all the legs or base of your portable bathtub are even and securely attached. If your bathtub has wheels, make sure they have effective locking mechanisms. For added stability, you can place non-slip pads under the legs or base. Regularly inspect the bathtub for any loose fittings and tighten them as necessary to maintain its stability.