DIY Crafting A Cover For Your Portable Bathtub: A Creative Guide
Do you ever wish your portable bathtub had a bit more pizzazz or perhaps some added privacy? Well, you’re in luck! Crafting a DIY cover

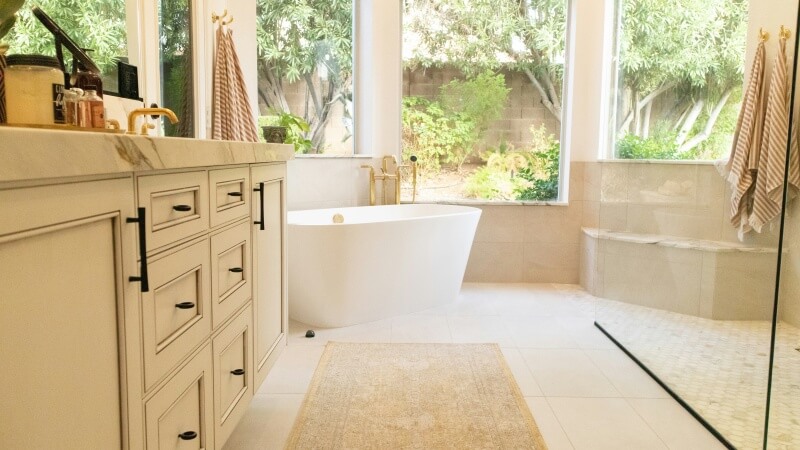
Have you ever imagined the luxury of a portable bathtub in your home? This innovative concept is not only a dream for many but also a fun DIY project that you can undertake.
In this blog, we’ll guide you through creating your own portable bathtub, ensuring both functionality and style, making your bath time more versatile and enjoyable than ever before.
Designing your portable bathtub is the first and most creative part of the process. It’s where your vision takes shape. This initial stage requires you to think about how you’ll use the tub, where it will go, and what it will look like.
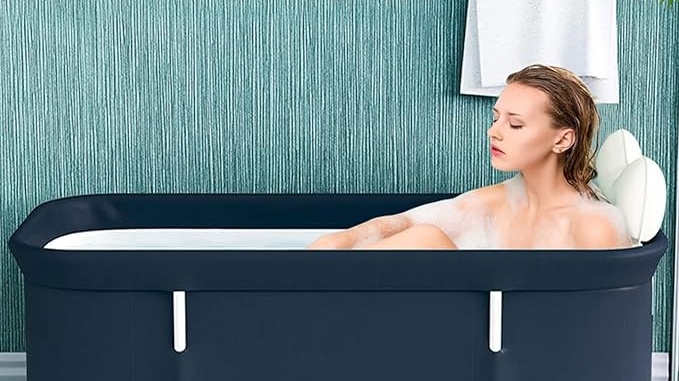
When considering the size and shape of your portable bathtub, you need to think about the available space and how you plan to use the tub. If you have a small bathroom, a compact design might be best.
However, if you’re looking for a luxurious experience, you might opt for a larger, more spacious model.
The shape is also crucial for comfort and aesthetics – oval, rectangular, or even a unique custom shape can set your tub apart.
Selecting the right materials for your portable bathtub is a balance between functionality and style.
Lightweight plastics are affordable and easy to move, while metals like aluminum offer durability and a modern look. Wood, although heavier, provides a classic and elegant feel.
Each material impacts the overall appearance and usability of your tub, so choose one that aligns with your needs and preferences.
The mobility of your portable bathtub is what sets it apart. The design should incorporate a mechanism that is both sturdy and easy to maneuver.
Consider adding high-quality wheels that can lock in place for stability. The mechanism should support the weight of the tub, plus water and the user, ensuring safe and effortless movement around your space.
Once your design is set, the next step is gathering all the materials and tools you’ll need. This preparation stage is crucial for a smooth construction process and helps prevent any unnecessary delays or issues.
Create a comprehensive shopping list that includes the primary material for the tub, such as acrylic, metal, or wood. Don’t forget waterproof sealants, screws for assembly, and possibly wheels or casters for mobility.
Consider the aesthetics and longevity of each material – a good quality material can make your portable bathtub a long-lasting piece of your home.
For the construction of your portable bathtub, you’ll need a range of tools. A saw is necessary for cutting your materials to size, a drill for making holes for screws, and a screwdriver for assembly.
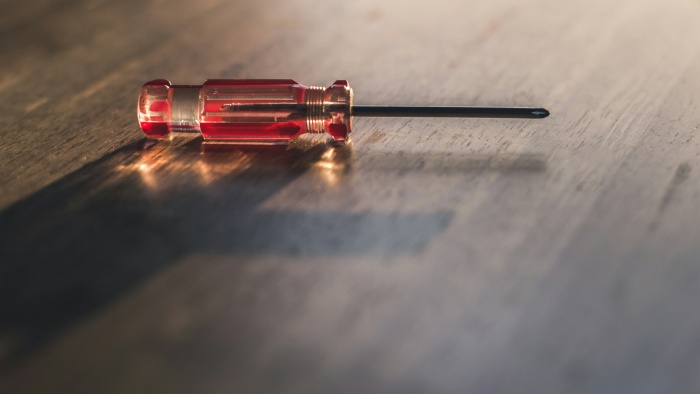
Make sure you have all these tools before starting, as well as any safety equipment like gloves and goggles. Being prepared with the right tools will make the construction process smoother and more efficient.
Safety is paramount when undertaking a DIY project like building a portable bathtub.
Wear protective gear such as gloves to protect your hands, goggles to safeguard your eyes from flying debris, and a mask if you’re working with potentially hazardous materials or chemicals.
Familiarize yourself with all tools beforehand, especially power tools, to prevent accidents.
Building the body of your portable bathtub is where your project really starts to come to life. This phase requires precision and attention to detail to ensure that your bathtub is both aesthetically pleasing and functional.
The addition of mobility features and final touches is what transforms your project into a truly portable bathtub. This stage is about making your bathtub not only functional but also visually appealing.
Finally, after all your hard work, it’s time to enjoy and maintain your DIY portable bathtub. Proper usage and maintenance are key to ensuring its longevity and your continued enjoyment.
Creating your own portable bathtub is a fulfilling DIY project that adds convenience and a touch of personal style to your home.
From the planning and design to the construction and final touches, each step brings you closer to having a unique and functional bathtub.
Remember, the key to success is in the details – careful planning, precise execution, and regular maintenance. Enjoy the fruits of your labor with endless relaxing baths in your new portable bathtub!